Discover the Lion Brand
Grilled Whole Chicken on a Gas Grill: Easy Roast on your Lion BBQ Grill

Grilled Whole Chicken on a Gas Grill: Easy Roast
Grilled whole chicken on a gas grill is one of the most rewarding meals you can pull off in your backyard, and with a Lion rotisserie kit, it is easier than ever to get juicy, tender meat and golden, crispy skin every time. Instead of fighting flare-ups and uneven heat, the rotisserie slowly turns the bird over the flame so it self-bastes in its own juices and browns evenly on every side. Whether you are cooking for a weeknight dinner or a weekend cookout, this guide walks you through exactly how to grill a whole chicken from prep to carving, plus the tips that make all the difference.
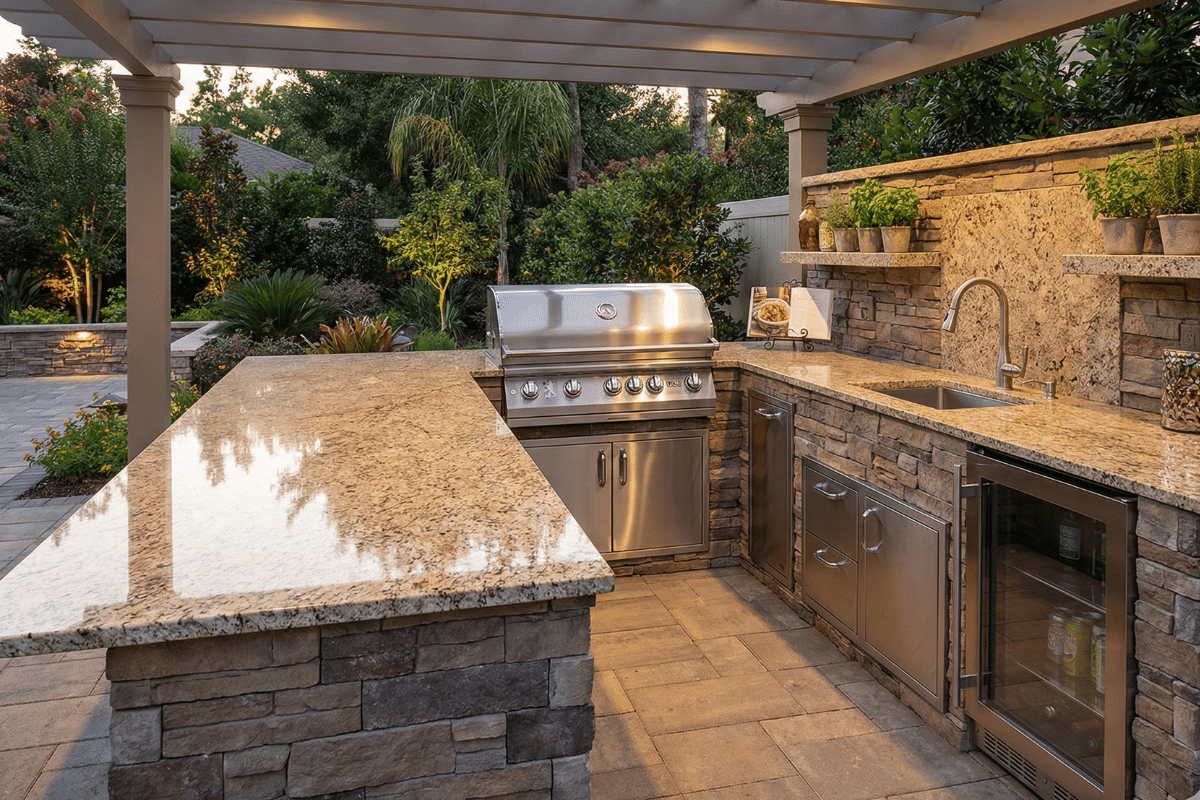
Cooking with a Lion Rotisserie Kit

Before we get to the recipe, it helps to understand the tool that makes it all work. A Lion rotisserie kit turns your gas grill into a true spit-roasting machine. It includes a sturdy stainless steel spit rod, a pair of forks to hold the food in place, and a motor that turns the rod slowly and steadily while you cook.
The idea behind it is simple. As the chicken spins on the spit, it cooks evenly on all sides while the juices run down and baste the bird with every turn. Paired with the infrared back burner on your Lion grill, the rotisserie gives you that golden, restaurant-style chicken right in your own backyard. There is no flipping and no guesswork, just steady, even heat and slow rotation.
Setting it up is straightforward. You slide the spit rod through the center of the chicken, lock it in place with the forks, set the rod into the grill brackets, and switch on the motor. Turn on the back burner, close the lid, and let the rotisserie do the work.
How to Rotisserie a Whole Chicken, Step by Step
Learning how to rotisserie a whole chicken sounds harder than it is. With a Lion rotisserie kit doing the work, you mostly just set things up, close the lid, and let the grill do its thing. Here is everything you need and every step to follow.
What You'll Need
- 1 whole chicken, about 4 to 5 pounds
- 2 tablespoons olive oil or melted butter
- 1-2 tablespoons kosher salt
- 1 teaspoon black pepper
- 1 teaspoon garlic powder
- 1 teaspoon paprika
- 1 lemon, cut in half
- A few sprigs of fresh herbs like rosemary, thyme, or parsley
- Kitchen twine for trussing
- A meat thermometer (this is the one tool you really do not want to skip)
Step by Step
- Take the chicken out of the fridge. Let it sit on the counter for about 30 minutes so it is closer to room temperature. This helps it cook more evenly. While you wait, pat the whole bird dry with paper towels. Dry skin is the secret to crispy skin later.
- Season the chicken. Rub some olive oil or butter all over the outside. Mix the salt, pepper, garlic powder, and paprika in a small bowl, then sprinkle it evenly over the whole bird. Tuck the lemon halves and fresh herbs inside the cavity for extra flavor and moisture.
- Truss and skewer the bird. Tie the legs together and tuck the wings in close with kitchen twine, so nothing flaps loose while it spins. Slide the spit rod through the center of the chicken, then push the forks in from both ends and tighten them so the bird is held firmly in place. A snug, well-balanced chicken turns smoothly.
- Set up the rotisserie. Place the spit rod into the brackets on your Lion grill and make sure it sits level and turns freely. Switch on the motor to confirm it spins evenly. Turn on the infrared back burner and leave the main burners off, since the back burner provides the gentle, even heat that rotisserie cooking needs.
- Bring the grill to 350 to 400 degrees Fahrenheit. Close the lid and let it come up to temperature. Keep an eye on the built-in gauge.
- Let it roast. With the chicken spinning and the lid closed, let it cook. A 4 to 5 pound chicken usually takes around 80 to 90 minutes, but every grill and every bird is a little different, so go by temperature, not just the clock.
- Check the temperature. This is the most important step for a safe, juicy chicken. Insert the meat thermometer into the thickest part of the breast without touching the bone. Both the breast and the thickest part of the thigh need to reach at least 165 degrees Fahrenheit to be safe to eat. Many cooks like to take the thigh a little higher, around 175 degrees, since dark meat turns more tender. If it is not there yet, close the lid and give it more time.
- Let it rest. Once the chicken hits the right temperature, carefully remove the spit and let the bird rest for 10 minutes before carving. This lets the juices settle back into the meat so every slice stays moist. Cutting too early lets all that good juice run out.
Ready to roast like this at home? The secret to that perfect, even cook is the right gear. We recommend the Lion Premium Grills Rotisserie Kit for the 32-inch L75000, which pairs perfectly with your grill for whole chickens and so much more. Check it out below.
The Secret to Juicy Grilled Chicken with Crispy Skin

Getting juicy meat and crispy skin at the same time is what trips most people up. The good news is that grilled whole chicken on a gas grill makes this easy once you know a few simple tricks. It comes down to three things: dry skin, steady rotation, and a little patience.
- Always dry the skin before cooking. Pat the whole bird with paper towels until the surface feels dry to the touch. Wet skin steams instead of crisping, so this one small step makes a big difference. If you have time, you can even leave the seasoned chicken uncovered in the fridge for an hour or two beforehand, which dries the skin out even more.
- Let the rotisserie do the work. Because the bird turns slowly over the back burner, it cooks gently and evenly instead of scorching on one side. The constant spinning bastes the chicken in its own juices, which keeps the meat tender and moist all the way through while the outside slowly turns golden. There is no flipping and no fussing, just steady heat and slow rotation.
3. Never skip the rest. Pulling the chicken off at the right temperature and letting it sit for 10 minutes is the difference between juicy and dry. The juices need that time to settle back into the meat. If you carve too soon, all that moisture ends up on the cutting board instead of in your chicken.
Follow those three steps and you will get juicy grilled chicken with crispy skin every single time.
Why This Lion Grill Recipe Works
The reason this Lion grill recipe turns out so well comes down to the equipment. A great chicken starts with steady, even heat, and that is exactly what a Lion grill paired with a rotisserie kit is built to deliver.
The rotisserie turns your grill into a true spit roaster. Instead of cooking the chicken on a fixed grate, where it can burn on the bottom and dry out, the spit turns the bird slowly over the infrared back burner so the heat reaches every side. That constant, even motion is what gives you a chicken cooked evenly from edge to edge.
The slow spin also does double duty. As the chicken turns, it bastes itself in its own juices the entire time, so you get richer flavor and crispier skin without any extra work. All you have to do is set it and let it go.
Pair a Lion rotisserie kit with a grill like the Lion L75000 32-inch and you have a setup that handles far more than chicken. The same method works beautifully for turkey, pork roasts, leg of lamb, and big cuts of beef. Once you learn it with a simple whole chicken, you will reach for it again and again.
Beyond the rotisserie, a Lion Premium Grill comes with an included griddle and smoker box too, so the same grill handles everything from smash burgers to smoked wings. Add accessories like a rotisserie basket for smaller foods, an infrared sear burner, charcoal trays, or ceramic tube trays, and you turn your backyard grill into a complete outdoor cooking station.
Final Thoughts on Grilled Whole Chicken on a Gas Grill
Grilled whole chicken on a gas grill is one of those meals that looks impressive but is genuinely simple once you have the right setup. With a Lion rotisserie kit doing the heavy lifting, you get juicy meat, golden crispy skin, and that classic rotisserie flavor every time. Dry the skin, truss it well, trust your thermometer, and let it rest before carving. That is the whole secret.
Once you have made it a few times, you will start reaching for this method again and again, not just for chicken but for turkey, roasts, and everything in between. It is the kind of cooking that turns a regular dinner into something worth gathering around.
Ready to fire up your own backyard roast? Explore our Lion grills and rotisserie kits below.