Discover the Lion Brand
Lion Premium Grills: Replacing Your Rotisserie Orifice
Rotisserie Orifice Replacement Guide
Professional help recommended
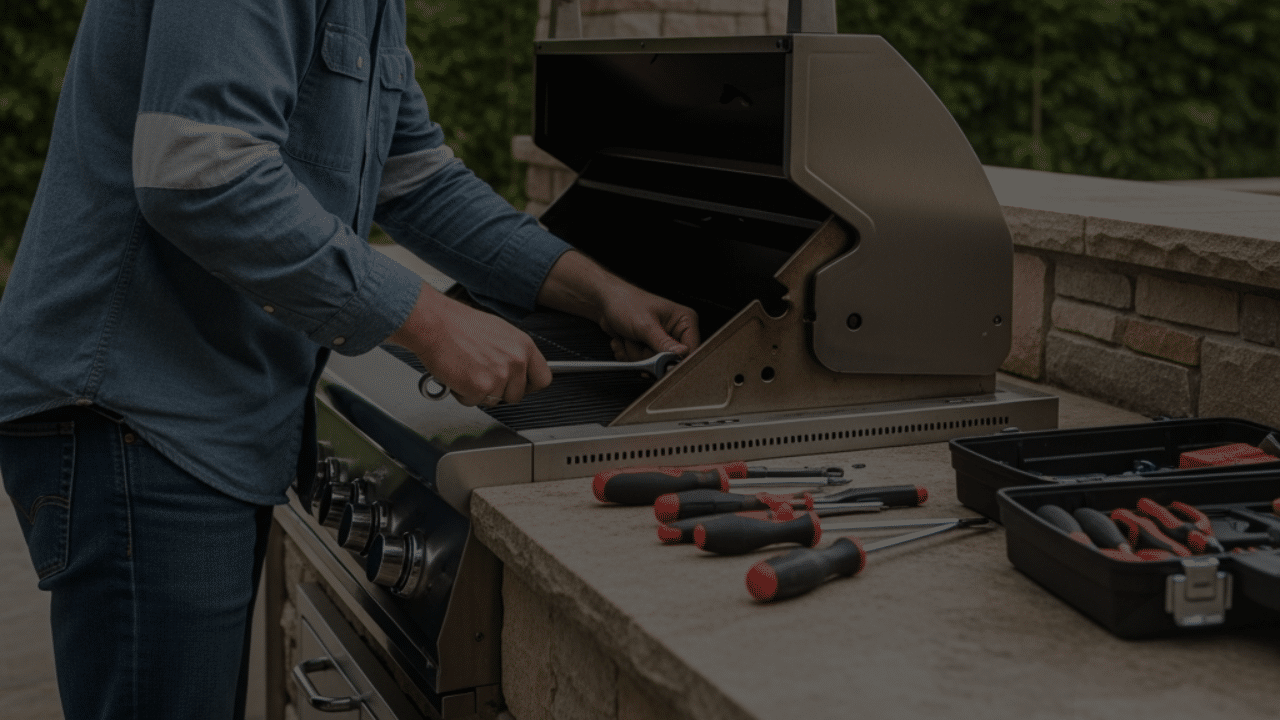
Lion Premium Grills strongly advises that any gas-line work—including replacing the rotisserie orifice—be carried out by a licensed plumber or certified gas technician. If you choose to proceed on your own, follow the steps below exactly and perform a thorough leak test before operating the grill.
Read first:
Shut off the gas supply and disconnect electrical power.
Allow the grill to cool completely.
Keep a small container handy so none of the screws go missing.
Tools & Parts You’ll Need
| Item | Purpose |
|---|---|
| #2 Phillips-head screwdriver | Removes four Phillips screws securing the rear shield |
| 4 mm hex (Allen) key | Removes four hex screws securing the rear shield |
| Adjustable (crescent) wrench | Loosens the flexible gas line |
| 7/8-inch open-end wrench | Removes the brass orifice-retaining nut |
| Replacement rotisserie orifice | Correct jet size for your fuel type (LP or NG) |
| Gas-rated thread sealant or PTFE tape | Seals threaded connections |
1. Remove the rear shield panel
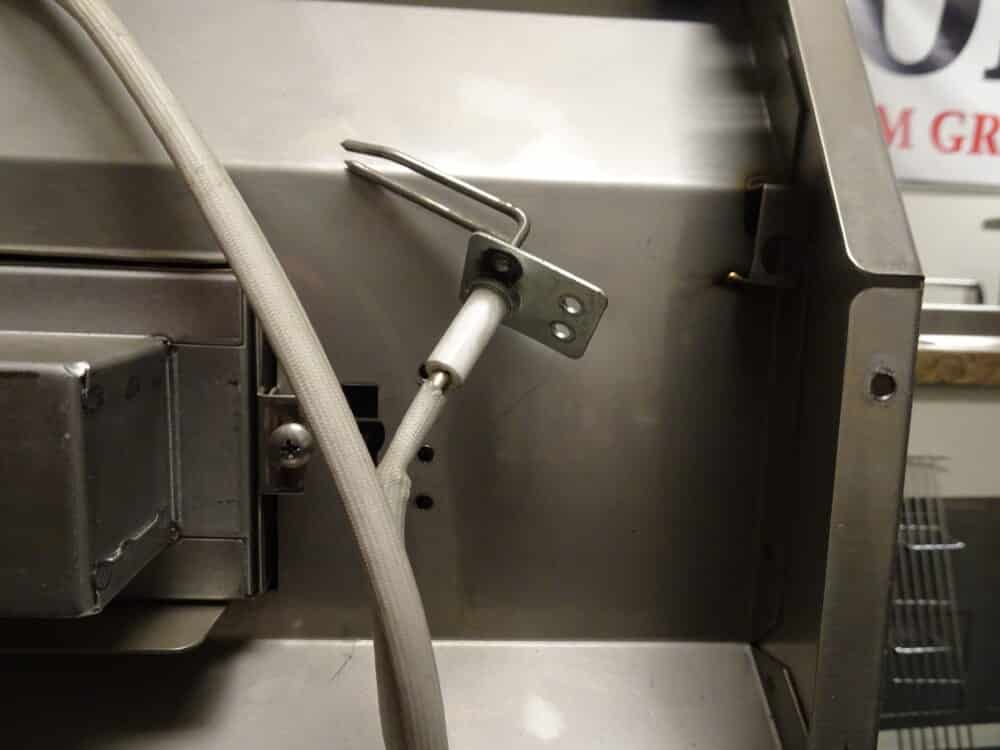
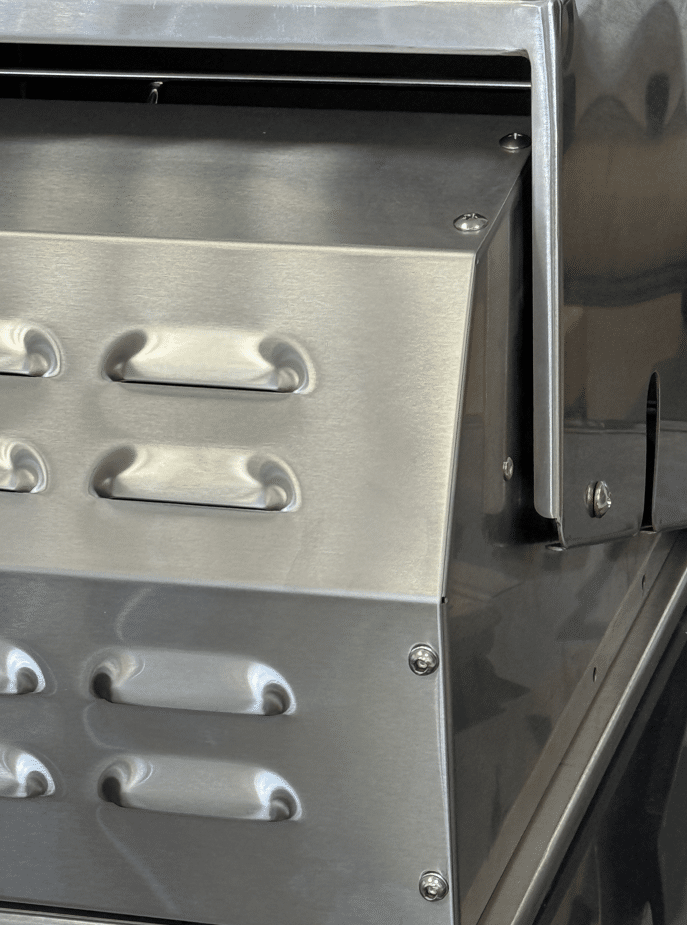
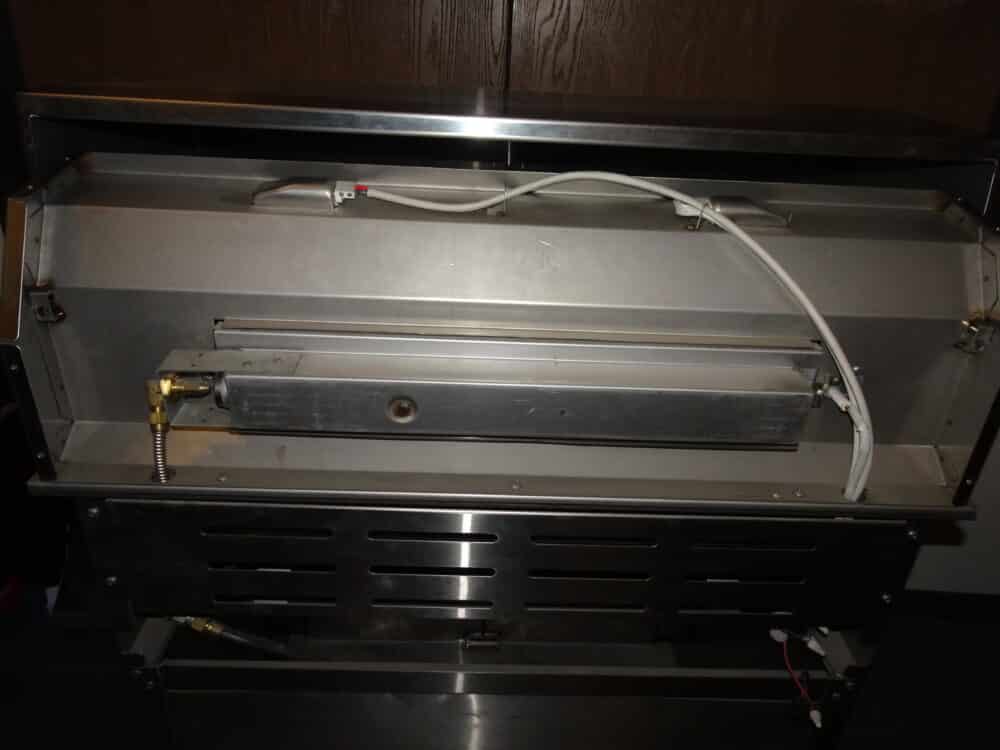
Eight screws hold the rear lid shield in place—four Phillips head, four Allen. Back them out in any order and drop them into your parts cup. With the screws gone, the shield lifts straight off, revealing the backside of the rotisserie burner assembly, the igniter lead, and the LED light harness. Snap a quick phone photo of the layout; that reference shot makes reassembly foolproof.
Tech tip: While the shield is off, wiggle each wire terminal to make sure nothing’s loose or corroded—free tune-up!
2. Break the Gas Connection & Swap the Orifice
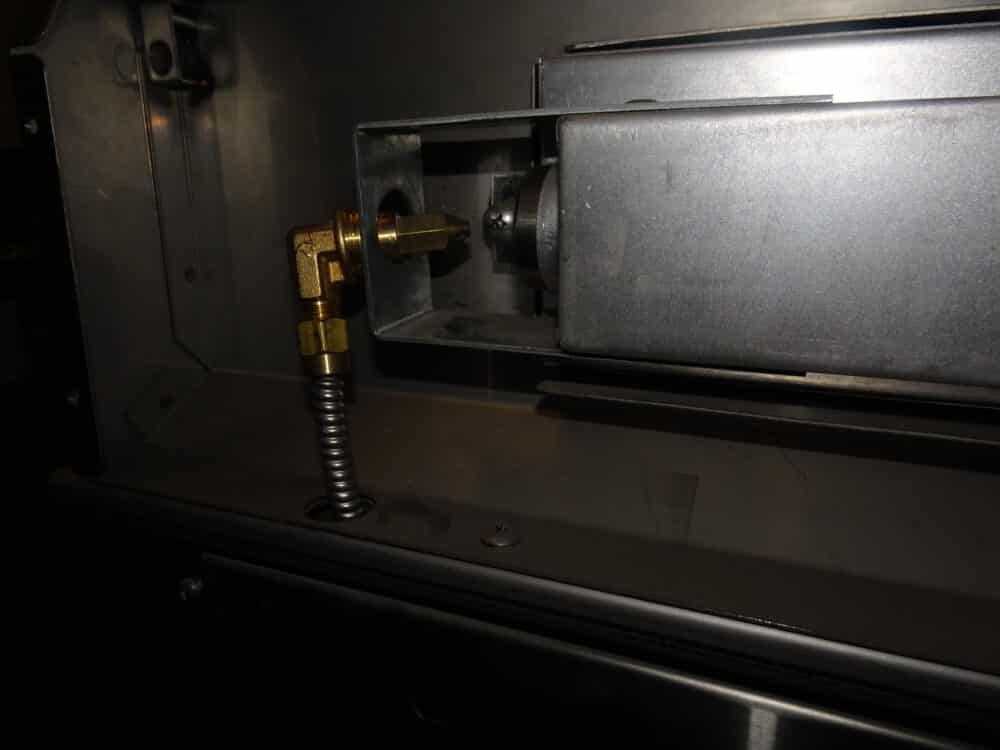
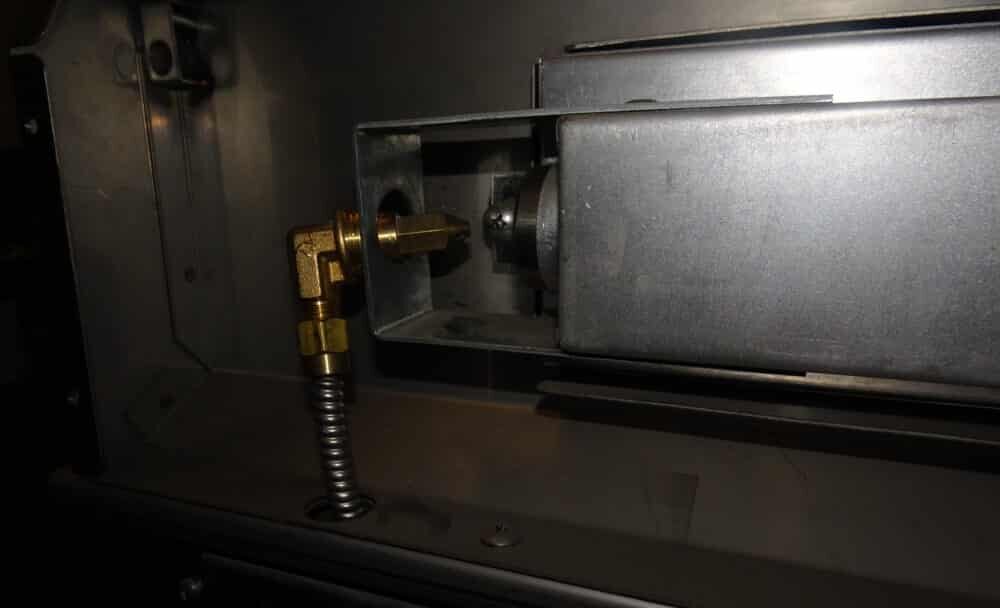
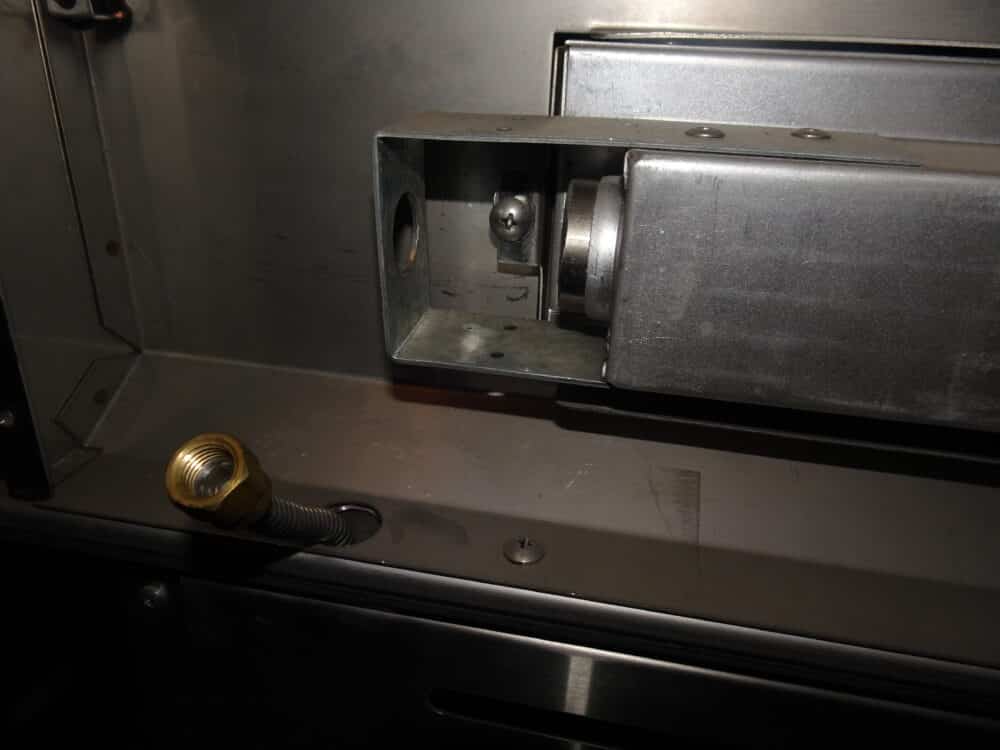
Look to the left end of the rotisserie burner for a small brass nozzle pointing backward—that’s the orifice. The flexible gas line threads directly into it. Slide an adjustable wrench over the flare fitting and a 7/8-inch wrench over the orifice nut. Hold the nut steady and back the flex line off first; that prevents twisting the burner manifold. With the line parked safely out of the way, loosen the 7/8-inch nut until the old orifice slides free.
Before installing the new jet, double-check the stamping: “1.10 mm” (typical LP) or “2.30 mm” (typical NG) depending on your fuel. Wrap the male threads with one layer of gas-rated tape (white plumber’s tape is not sufficient) and snug the nut—hand-tight plus a quarter turn is plenty. Re-thread the flex line, again finishing hand-tight plus a small bump with the wrench. Over-tightening can split brass.
3. Put It All Back & Prove It’s Leak-Free
Re-seat the rear shield, lining up the holes. Start every screw by hand to avoid cross-threading; then tighten them until they’re just flush—no need to muscle it. Restore gas and power, but keep the burner valves closed. Spritz soapy water on the flex-line fitting and the orifice nut, then crack the supply valve. Watch for 30 seconds. Bubbles? Shut it down and retighten. No bubbles? Fire up the rotisserie burner. You should see a clean, even blue flame across the ports in under five seconds.
