Discover the Lion Brand
How to Easily Replace the Light Bulb Housing on Your Lion Premium Grill: Step-by-Step Guide
Proper lighting inside your Lion Premium Grill ensures clear visibility for those evening cookouts and enhances your grilling experience. If your grill’s internal bulb needs replacing, this step-by-step guide will help you complete the task safely and efficiently.
Tools and Supplies Needed:
- Phillips head screwdriver
- Precision flat head screwdriver (small)
- Replacement bulb: G4 12V 20W (Included with the Replacement Light Housing)
- Old towel or cloth and Latex Gloves
Steps:
Use latex gloves when handling the new bulb. Avoid touching the bulb directly with your fingers, as oils from your skin can shorten bulb life or cause premature failure.
Always verify that your grill is completely off and cooled before starting this procedure.
Step 1: Prepare Your Grill
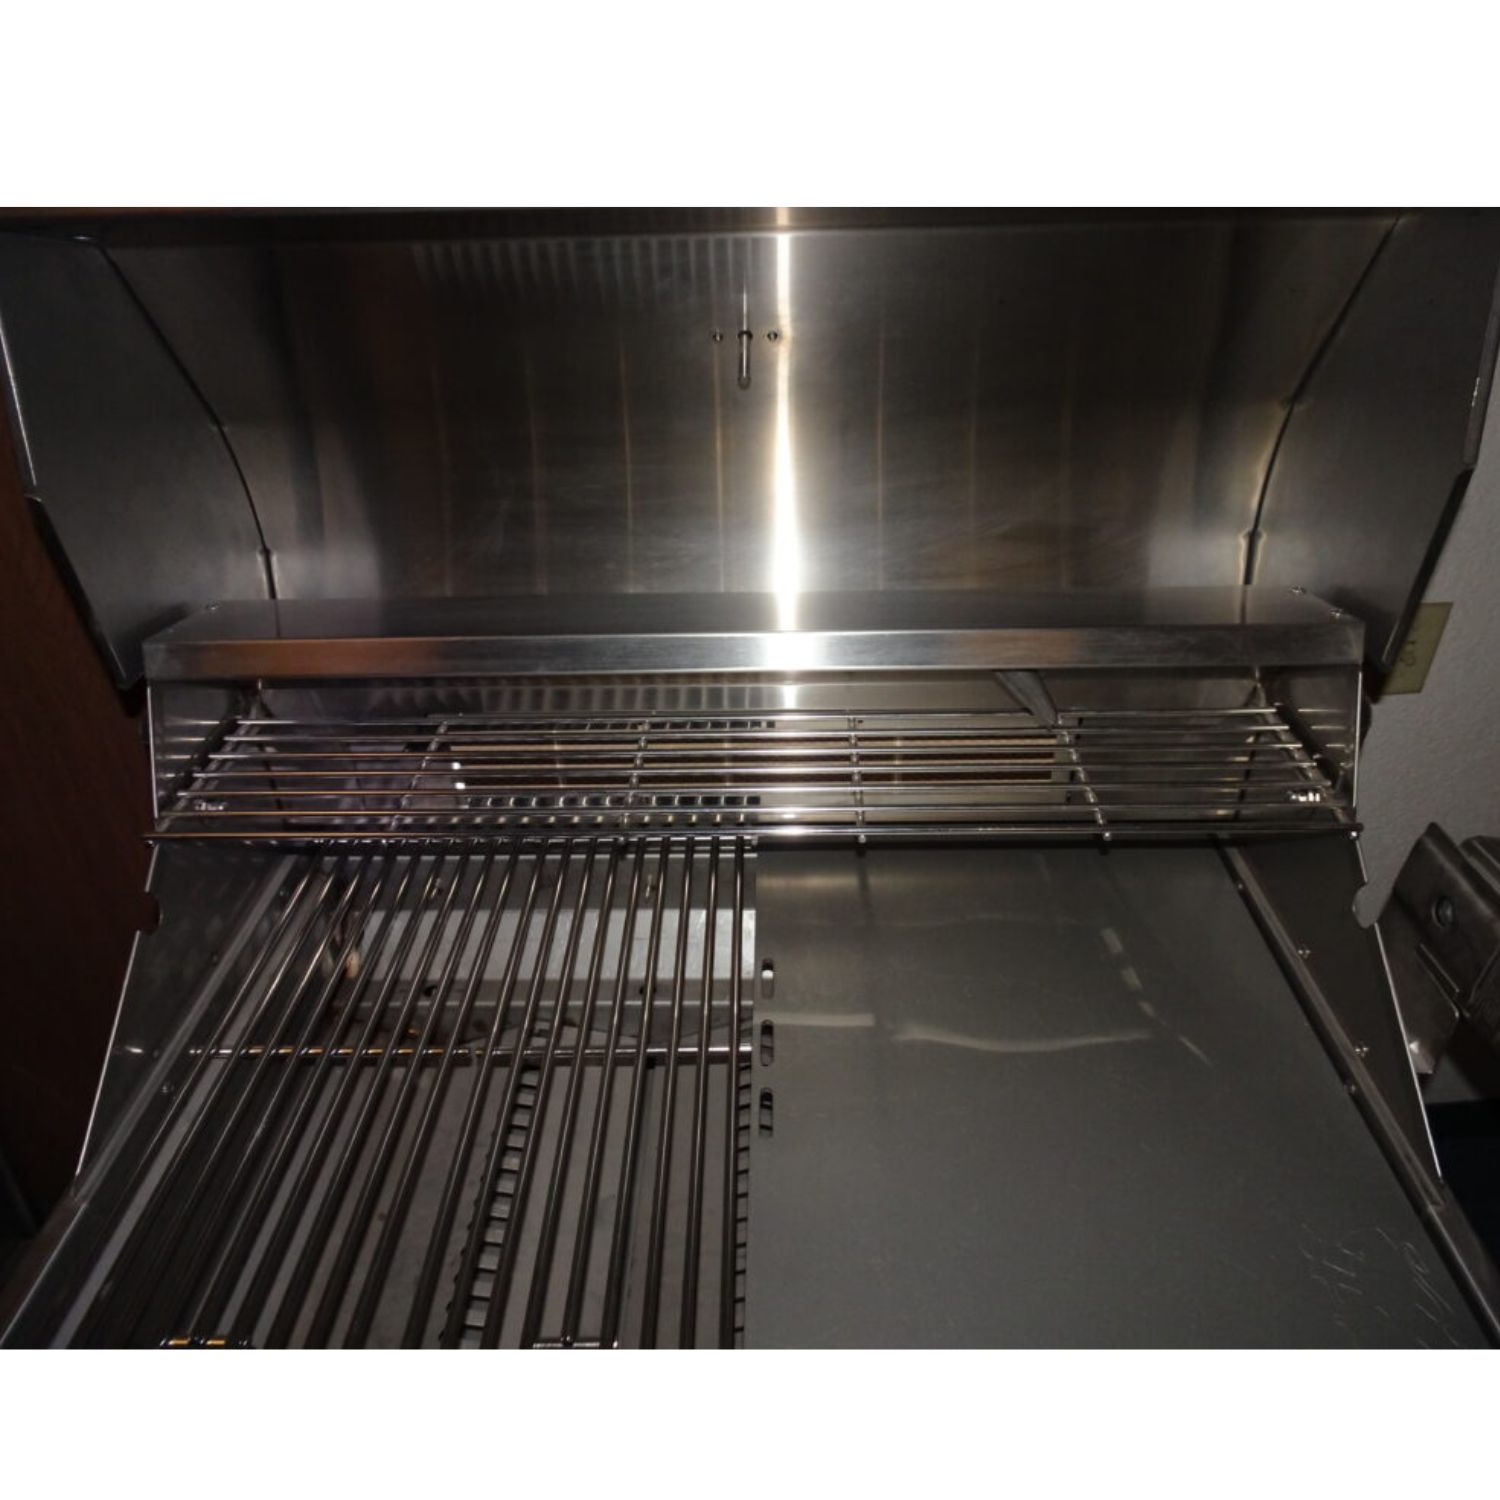
Ensure your grill is completely turned off and cooled down. Open the grill hood fully for easy access. Remove the warming rack and set it safely aside to clear your workspace.
Lay an old towel or cloth across the cooking grates to prevent screws or debris from falling inside. This also provides comfortable support for your elbows while working.
Step 2: Removing the Light Housing Off the Grill
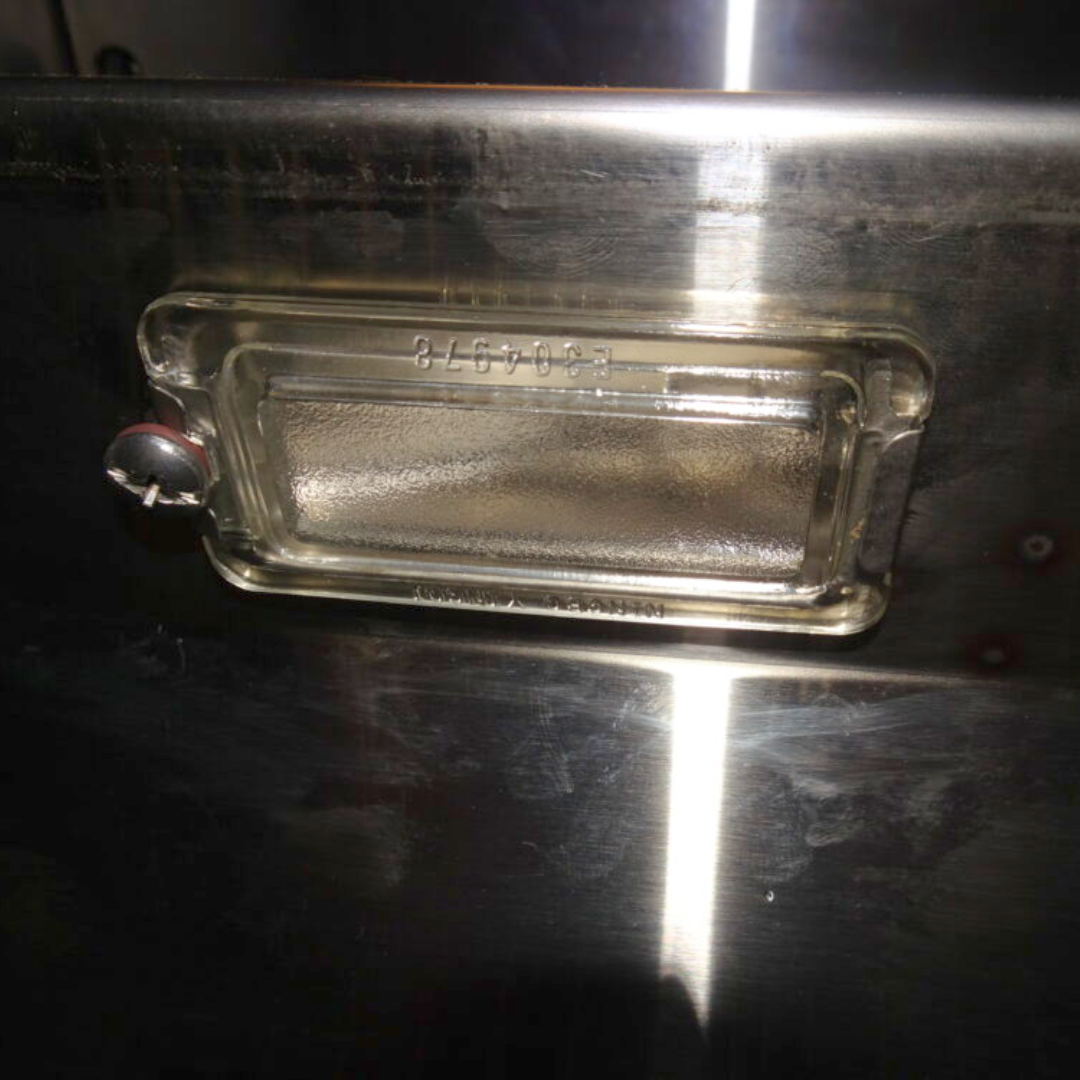
Locate the metal housing of the light fixture beneath the grill’s inner hood. Using your Phillips head screwdriver, unscrew and remove the metal housing, setting aside the screws safely for reinstallation.
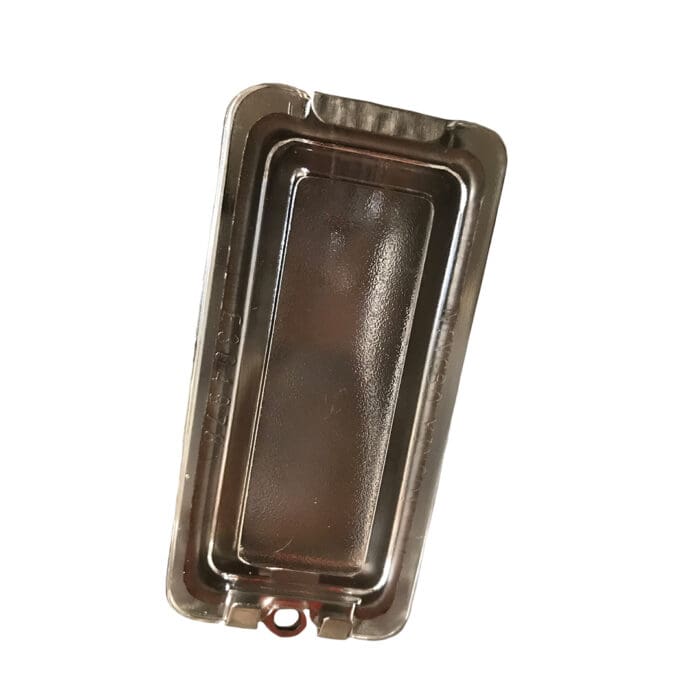
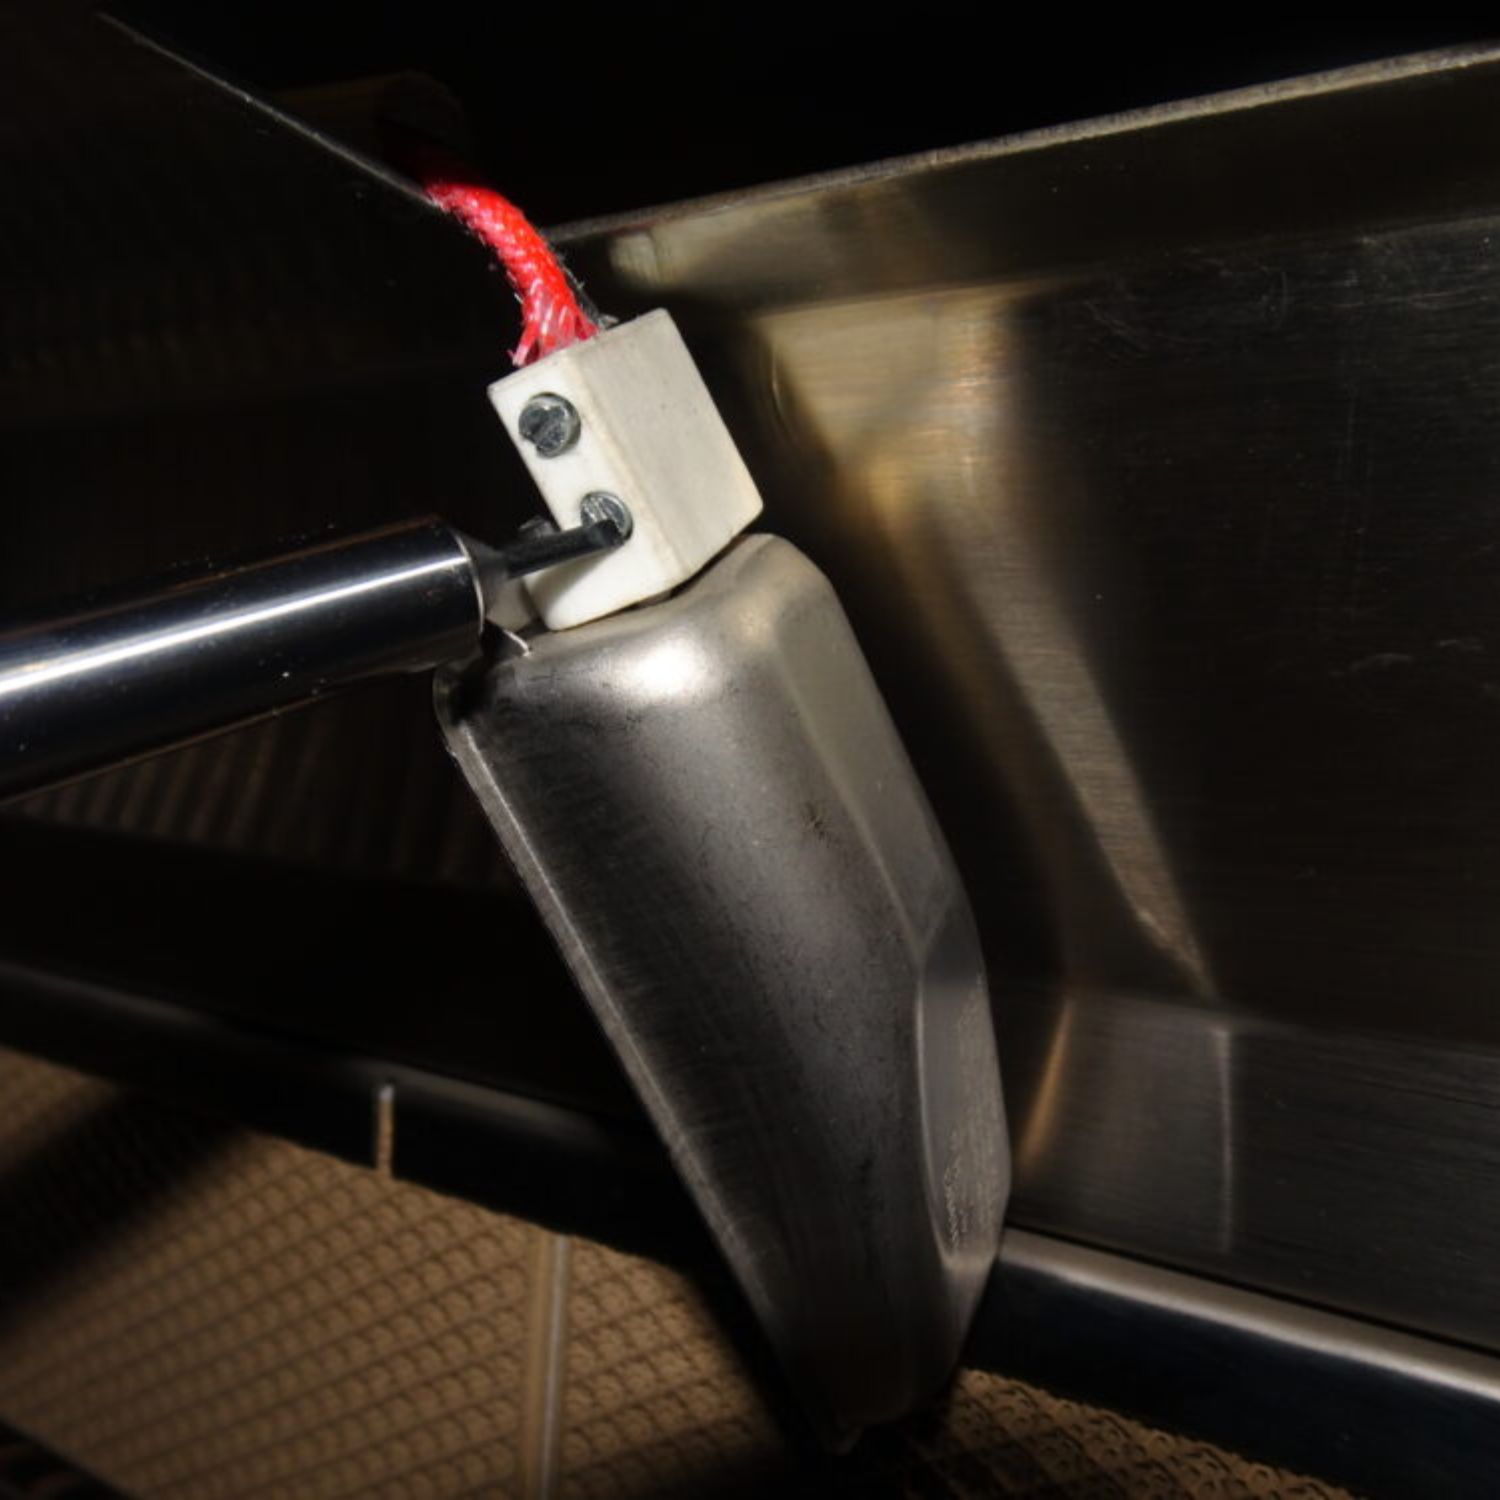
Remove the protective glass lens that covers the lens by bending open the clips on either side of the housing.Pull down the housing so that the wires and white, L-shaped block are exposed.Use a small precision flat head screwdriver to loosen the set screws on the sides of the white, L-shaped block closest to the bulb.

Step 3: Exposing the Connections and Screws
After removing the protective lens, let the housing gently hang down, revealing the internal wires and connection block clearly.
The bulb is secured in place by two small screws on the white connector block. Using your Phillips head screwdriver, carefully loosen these screws just enough to slide the old bulb out of its socket without disconnecting the screws completely If you are just replaceing your bulb or Remove it completely if replaceing the whole housing.
Step 4: Installing the New Bulb or Housing
Remove the new G4 12V 20W bulb from its packaging. (The bulb is included when you purchase the replacement housing.) Gently insert the bulb into the socket, ensuring it is securely seated.
Tighten the two small screws on the connector block securely, but avoid overtightening, as this may damage the bulb or connector.
Carefully reposition the protective glass lens onto the housing, ensuring it snaps firmly into place. Next, align the metal housing correctly back into the inner hood of your grill. Securely screw it back into place.

FINAL STEP: Final Inspection and Cleanup
Double-check that all screws are tightened and everything is correctly reassembled.Turn on your grill and activate the internal lighting. Verify that the bulb lights up properly, ensuring your grill is ready for convenient evening grilling.
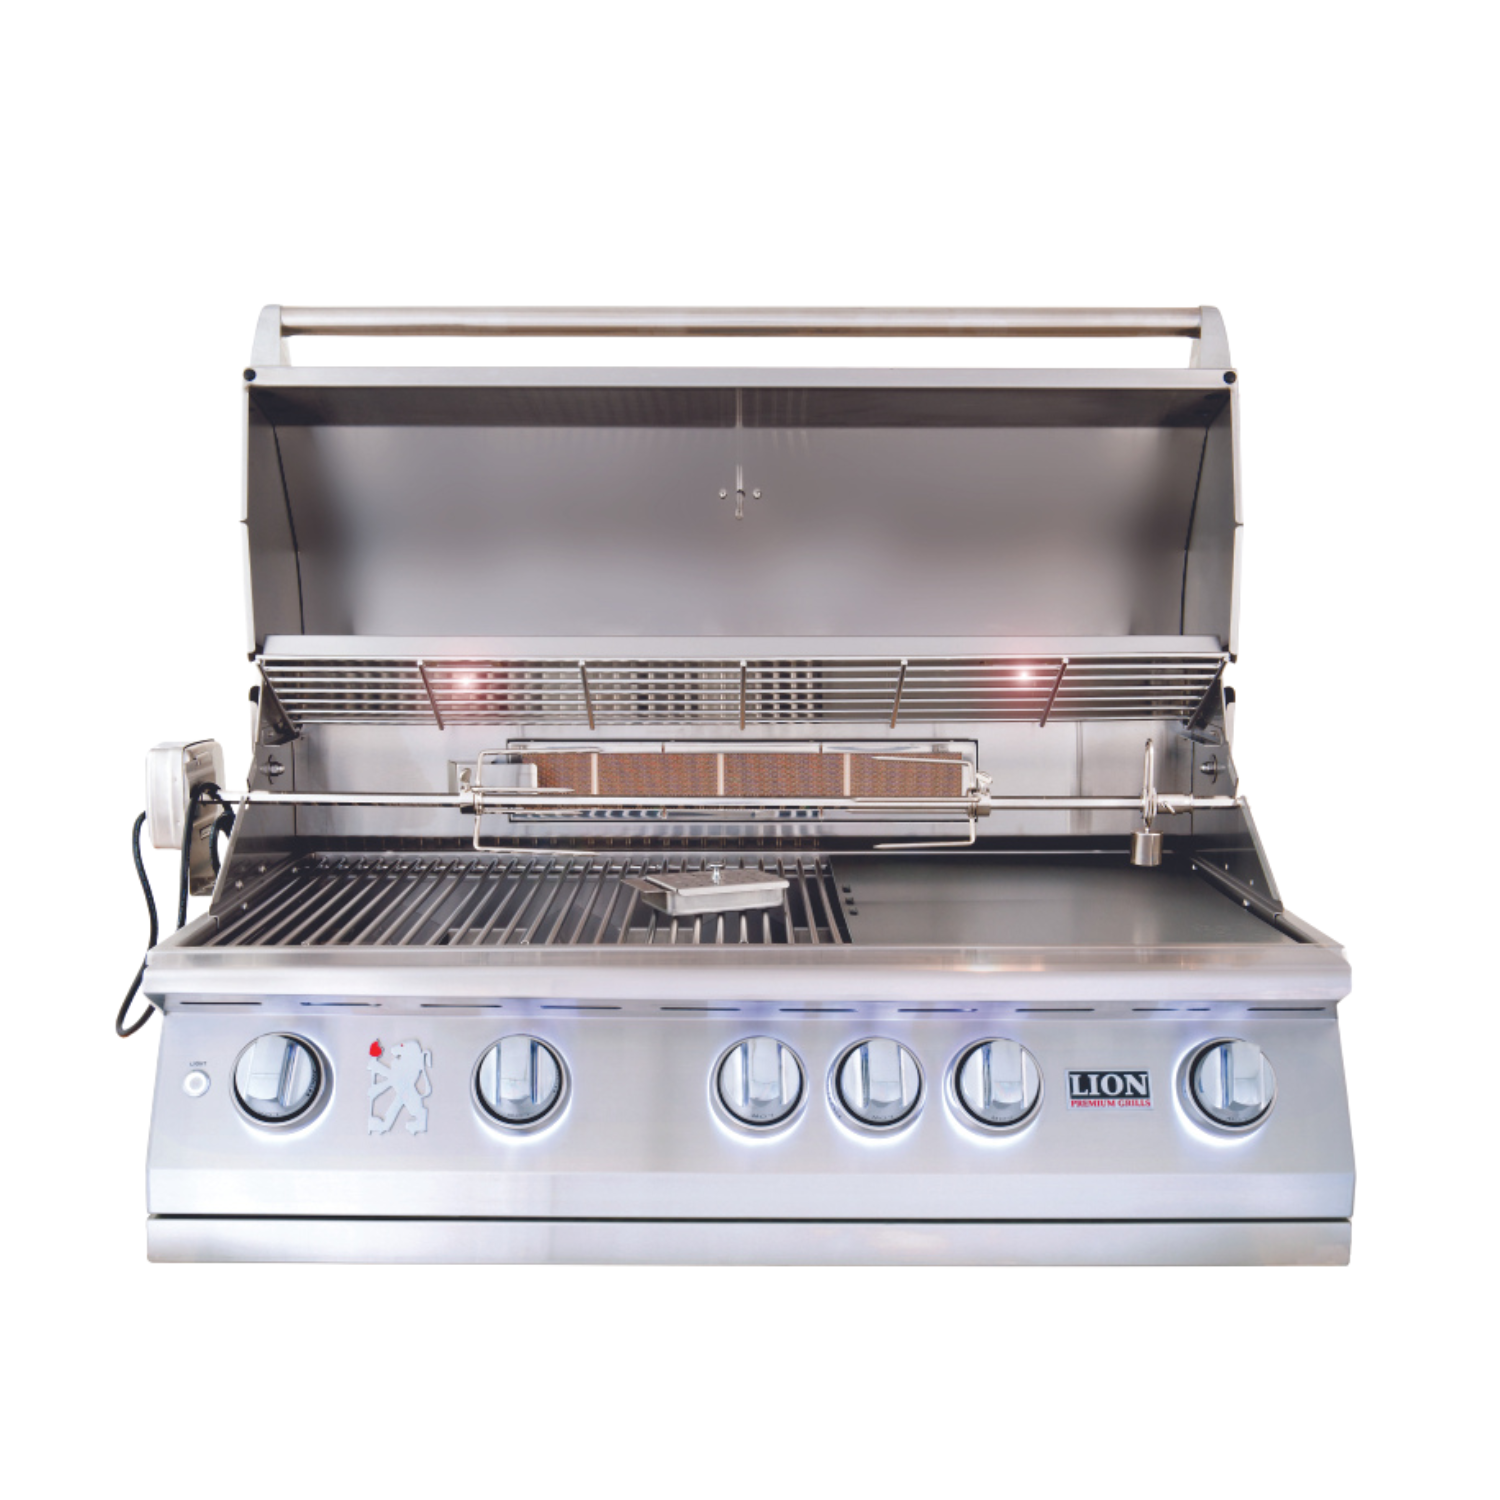
Lion Premium Grills Replacement Light Housing w/ Bulb for L75000 and L90000 – 29466
LION GRILL PARTS LIST


