How-To Guides

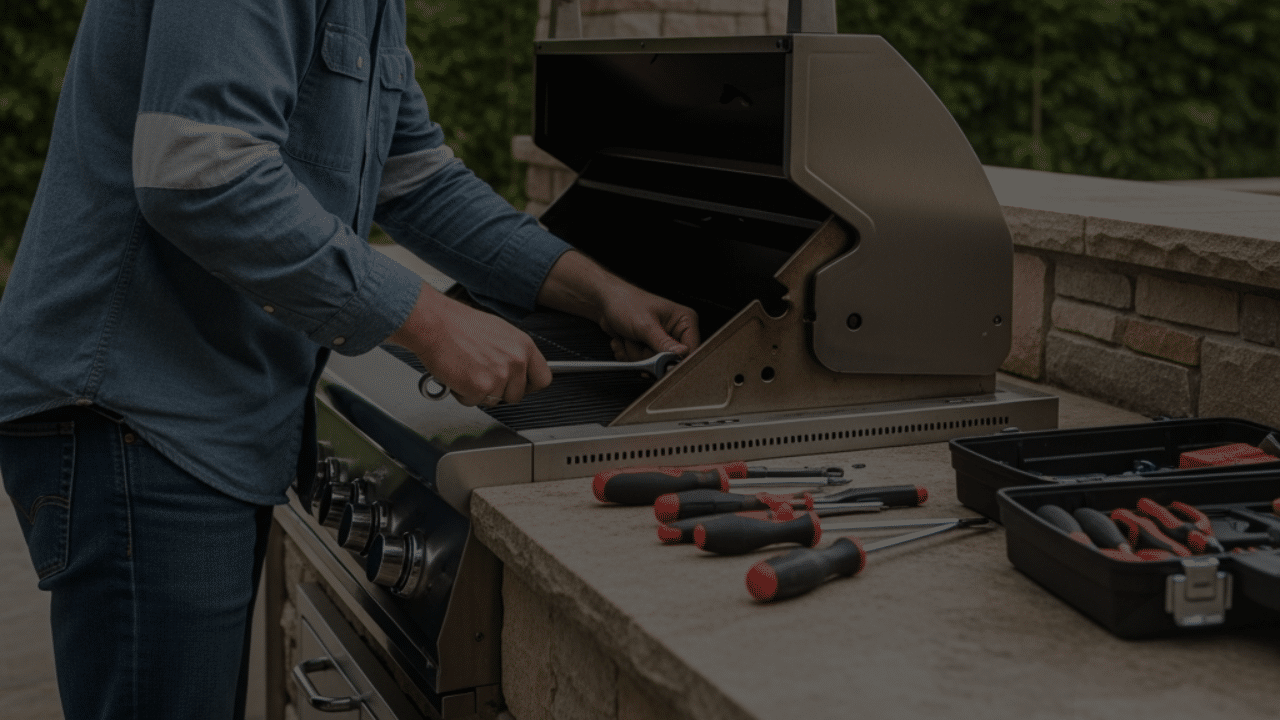
Lion Premium Grills: Rotisserie Igniter Replacement Guide

Rotisserie-Igniter-connected-but-unscrewed-1000x750

Rotisserie Igniter Replacement—Detailed Walk-Through

Safety first
Although swapping an igniter is fairly simple, you’ll be working around gas components and wiring. Lion recommends using a licensed plumber or certified grill technician—especially if you’re not fully comfortable with disassembly and leak-testing procedures.


Before You Start

  1. Shut it down – Turn off the gas at the supply valve, unplug the grill (or pull the battery pack), and wait until the cook box is cool to the touch.

  2. Clear a workspace – Spread a thick towel or piece of cardboard behind the grill to protect the stainless finish and keep stray screws from rolling away.

  3. Photo backup – Snap a quick picture of the rear panel; having a visual reference makes reassembly effortless.

Tools & Parts You’ll Need

Item Why You Need It
#2 Phillips screwdriver Removes four Phillips screws in rear shield
4 mm hex (Allen) key Removes four hex screws in rear shield
Needle-nose pliers Helps tug the igniter spade connector free
Small nut driver or #1 Phillips Removes the two screws that secure the igniter
Heat-shrink tubing (optional) Insulates the wire-to-igniter joint
Long-stem lighter or heat gun Shrinks tubing evenly
Soapy water solution Final leak check after reassembly

1. Remove the rear shield panel

Eight screws hold the rear lid shield in place—four Phillips head, four Allen. Back them out in any order and drop them into your parts cup. With the screws gone, the shield lifts straight off, revealing the backside of the rotisserie burner assembly, the igniter lead, and the LED light harness. Snap a quick phone photo of the layout; that reference shot makes reassembly foolproof.

Tech tip: While the shield is off, wiggle each wire terminal to make sure nothing’s loose or corroded—free tune-up!

lion rear shield

Swapping the Igniter in Three Smooth Moves

  1. Disconnect

    • Locate the white ceramic igniter mounted just left of the rotisserie burner.

    • Gently wiggle the spade connector off the igniter terminal using needle-nose pliers—don’t yank the wire.

  2. Remove

    • Two small screws (usually #1 Phillips or hex-head) hold the igniter bracket. Back them out and slide the igniter free of the burner shroud.

    • Take a moment to check the old igniter for cracks or carbon tracking; these are signs of heat stress that could point to airflow issues.

  3. Install & Insulate

    • Seat the new igniter so its ceramic tip sits flush with the burner port. Hand-start both screws, then snug them—finger tight plus a quarter turn is perfect.

    • Optional but smart: Slip a short sleeve of heat-shrink tubing over the spade connector, plug it onto the igniter, then apply gentle heat with a long-stem lighter until the tubing hugs the joint. This shields the connection from moisture and flare-ups.

Rot ignition
Rotisserie-Igniter-connected-but-unscrewed-1000x750

Reassembly, Test, and Leak Check

  • Button it up – Align the rear shield, start all eight screws by hand to avoid cross-threading, then tighten them just to snug—over-torquing can warp the panel.

  • Power & gas on – Restore electricity then open the main gas valve.

  • Spark test – Turn the rotisserie burner knob to “ignite” while pressing the igniter button. You should hear a rapid click and see a strong blue spark at the burner tip.

  • Leak sweep – Mist the soapy solution over the igniter wiring junction and nearby gas fittings. No bubbles after 30 seconds? You’re clear to cook.

Lion Rotisserie Back Burner Ignitor – 174840